Managing Contacts
Adding a contact
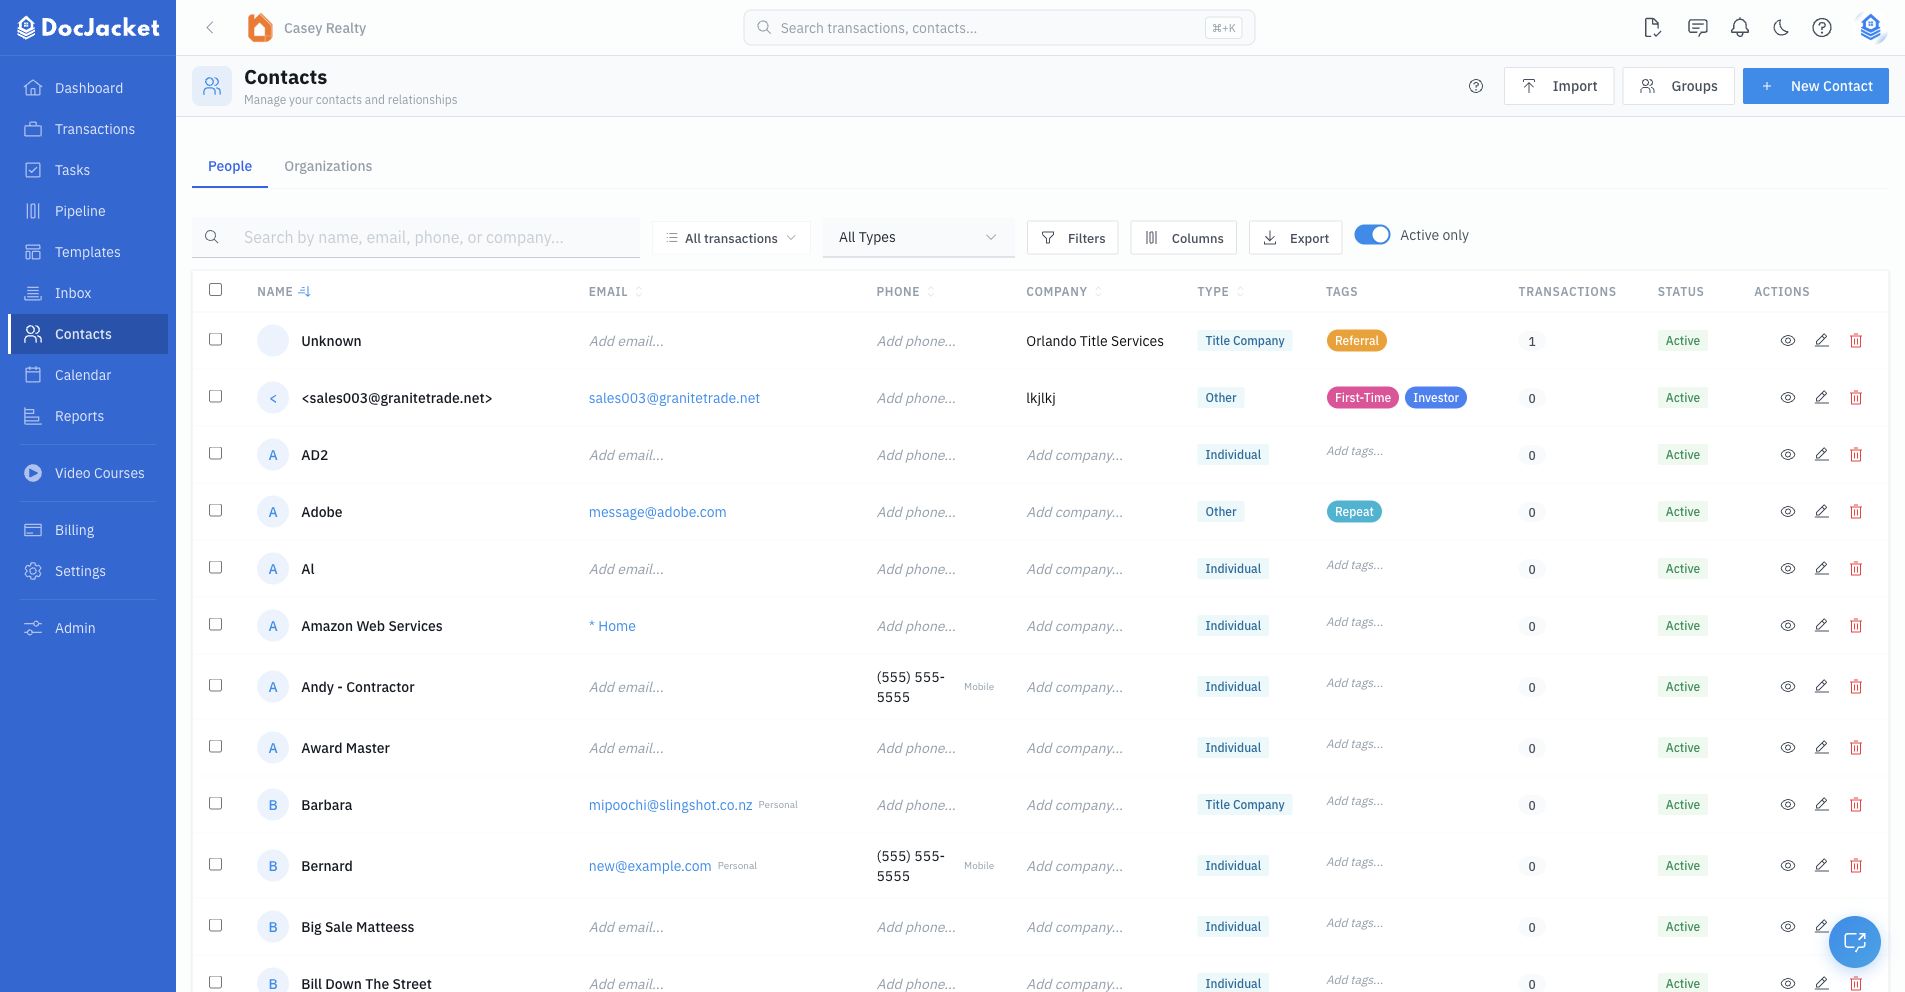
From the Contacts page, use the People view for individual contacts or the Organizations view for company records. Click New Contact and enter their details:
- First and last name
- Contact type
- Organization
- Primary email and phone, with type labels
- Additional emails and phone numbers
- License number, website, and social links
- Address
- Tags
- Notes
You can also create contacts while adding someone to a transaction. The transaction contact drawer can search existing contacts, filter by organization, or open a quick create dialog.
When quick-creating a transaction contact, DocJacket checks for likely duplicates by name, email, or phone before creating the new record. If a match exists, you can use the existing contact instead of creating another row.
Searching and filtering
- Search by name, email, phone, or company
- Filter by type — Narrow to agents, attorneys, lenders, clients, or any custom contact type
- Active only — Hide inactive contacts from the main list
- Advanced filters — Filter by transaction usage, license status, and person/organization kind
- Saved views — Save reusable contact grid configurations
- Columns — Show, hide, reorder, resize, and reset table columns
The Contacts grid also supports inline editing for common fields such as name, email, phone, company, license, notes, type, tags, and active status.
The column menu lets you show, hide, reorder, resize, and reset columns. Saved views preserve reusable grid layouts for repeat workflows.
Bulk actions
Select contacts from the grid to:
- Export selected contacts
- Delete selected contacts
- Merge two selected contacts
Deleting a contact marks it inactive. You can view inactive contacts by turning off Active only.
Merging is available when exactly two contacts are selected. Choose the contact to keep, review both records, and confirm. DocJacket moves related transaction links from the duplicate into the kept contact and removes duplicate relationships where the same transaction role already exists.
Importing contacts
Click Import from the Contacts page to import from:
- CSV Upload — Upload a CSV, map columns to contact fields, preview the import, choose duplicate handling, and run the import
- Google Contacts — Connect Google Contacts, fetch contacts, select the rows you want, and import them
The CSV importer includes a downloadable template, drag-and-drop upload, a 5 MB file limit, column mapping, recent import history, duplicate preview, import tags, and cancellation while an import is running.
The Google Contacts importer checks whether your Google account is connected, fetches contacts for preview, lets you select or deselect rows, and reports imported, skipped, and errored contacts when the import finishes.
Exporting contacts
Click Export to download the current contact list as a CSV file. If contacts are selected, use Export Selected to export only those rows.
Contact detail page
Open a contact to manage their full profile. From the detail page you can:
- Change the profile photo
- Edit name, organization, type, tags, emails, phones, address, website, social links, license number, and notes inline
- Mark primary email and phone rows
- Record SMS consent for each phone number
- Review related transactions, offers, and activity
- Manage agent portal status for agent-style contacts
- Review offers tied to that contact from the Buyer Offers pipeline
- Open the agent portal tab to create, copy, open, resend, or revoke an agent portal link
- Review portal activity and SMS/portal message threads for that contact
Most common edits happen directly on the detail page. Use Edit all fields when you need the fuller form for fields that still live there.
SMS consent and readiness
Phone numbers can be marked with SMS consent from the contact detail page. Consent is tracked per phone number, not just per contact, so a contact with multiple phone rows can have one consented mobile number and one non-consented office number.
Use the primary-phone star to control which number DocJacket treats as the default contact number. Use the SMS consent icon to record or remove consent before relying on SMS reminders, portal-link texts, or direct SMS workflows.
Portal chat does not require SMS consent and does not consume SMS credits. SMS sends still require a usable phone number, organization SMS access, and the sending safeguards described in Settings > SMS.