Your First Transaction
Let's walk through creating a transaction from scratch. By the end, you'll have a deal set up with contacts, key dates, and tasks — ready to manage.
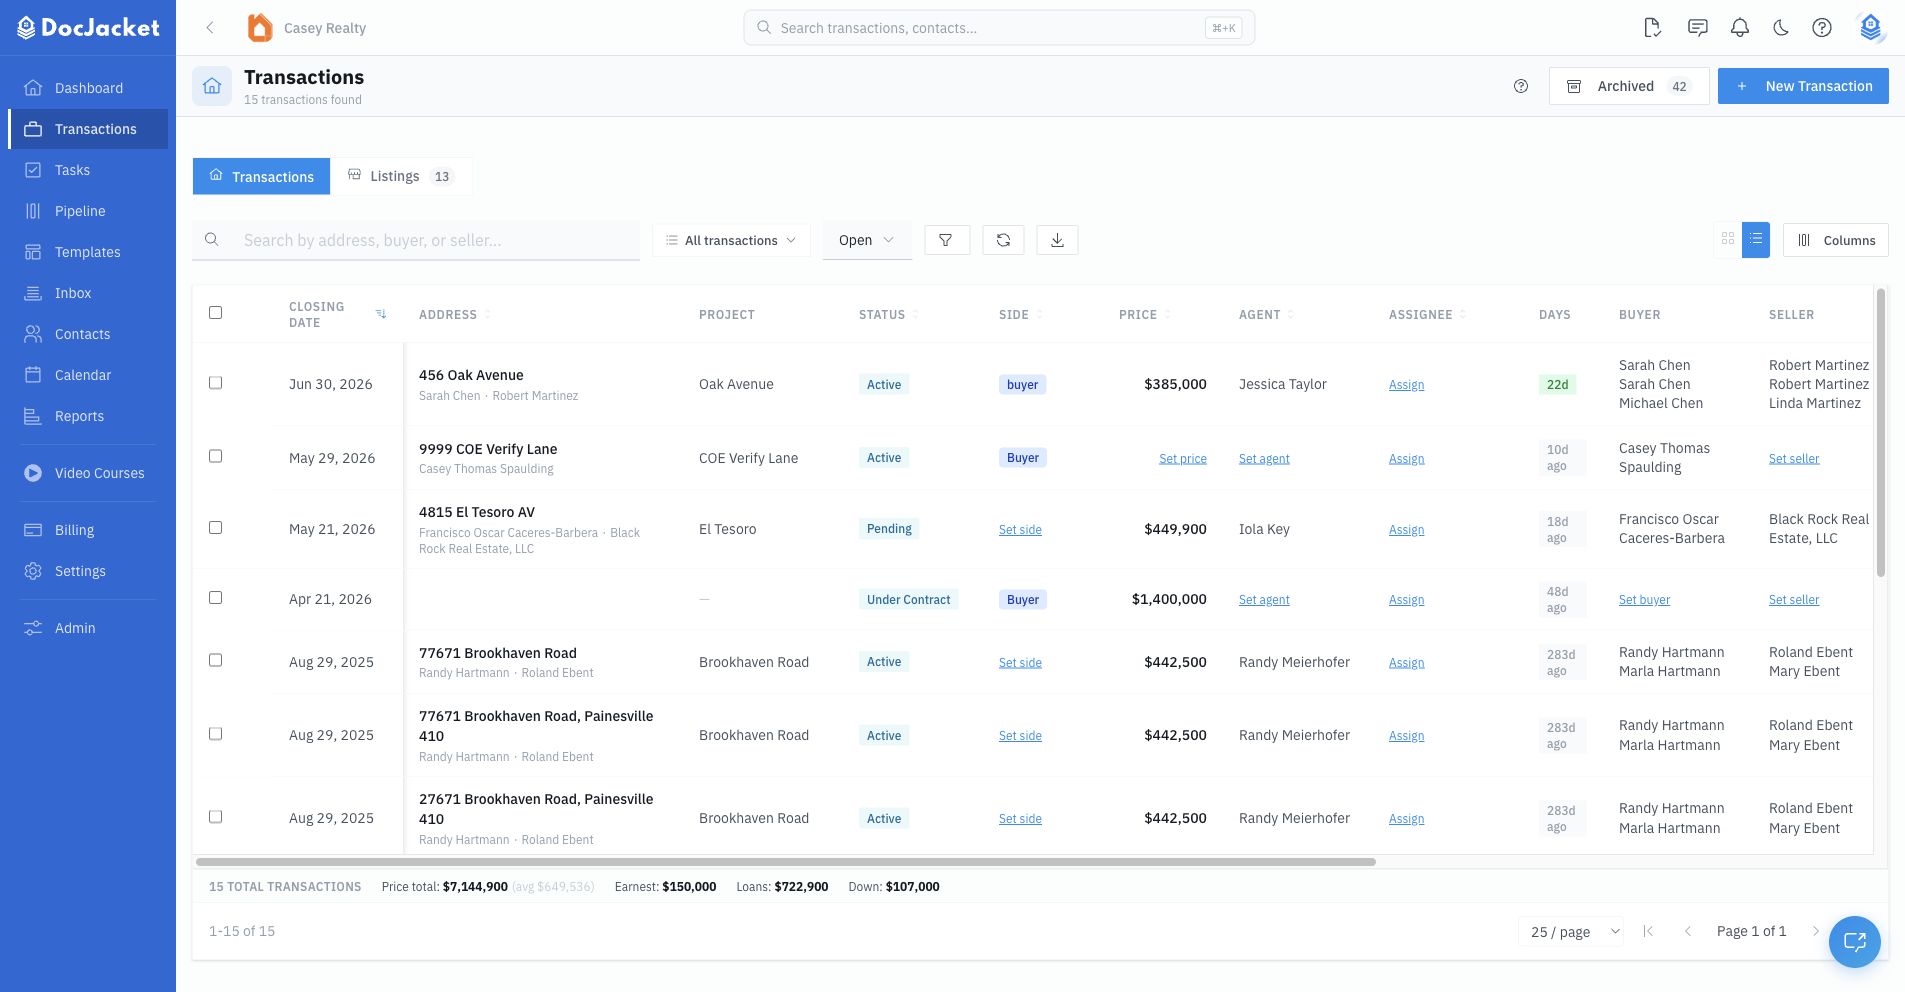
Two ways to create a transaction
From the Transactions page, click New Transaction to start with document upload and extraction. If you prefer to enter everything yourself, use the manual transaction form.
- Upload Documents — Upload a contract PDF and let AI do the heavy lifting
- Create manually — Fill in the deal details yourself
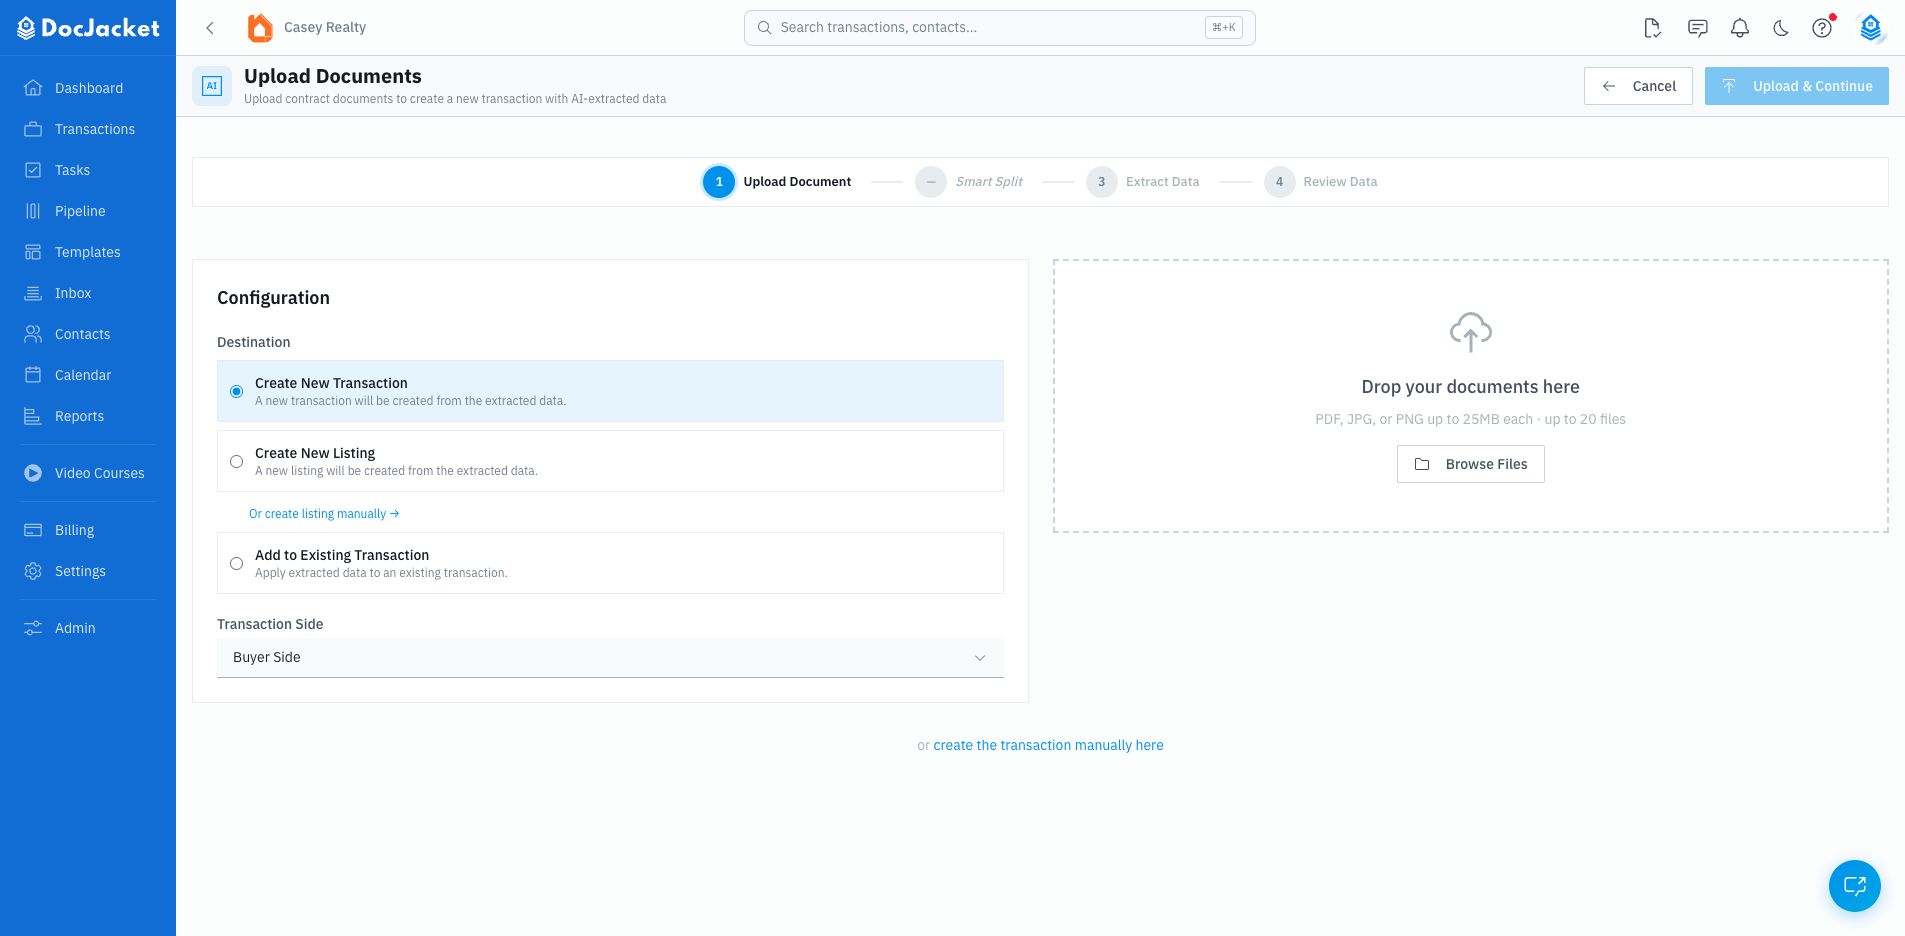
Option A: Upload Documents (recommended)
This is the fastest way. Upload contract documents and DocJacket will read through them and pull out:
- Buyer and seller names
- Property address
- Purchase price and earnest money
- Contract date, closing date, and key deadlines
- Contingency periods
- Click New Transaction
- Choose Create New Transaction
- Choose the transaction side
- Drop in PDFs, JPGs, or PNGs
- Click Upload & Continue
- Review Smart Split if it appears
- Review the extracted data and save the transaction
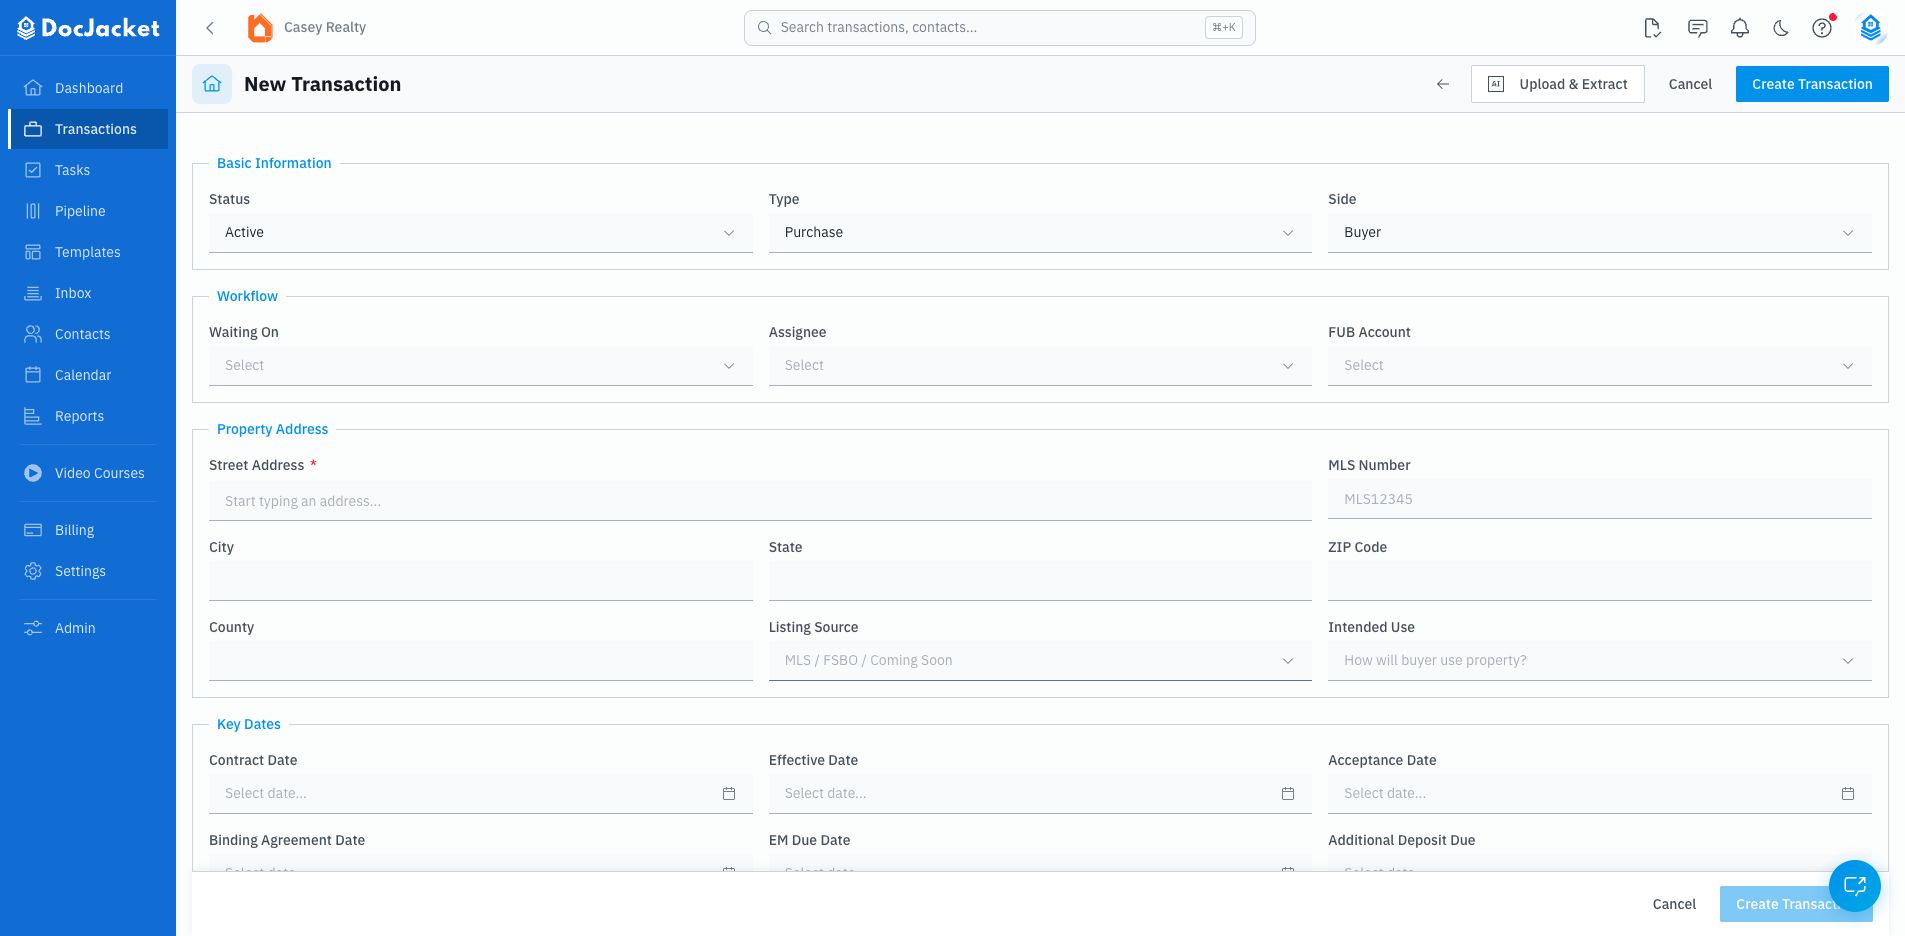
Option B: Create manually
If you don't have a contract handy or prefer to enter details yourself:
- Open the manual transaction form
- Fill in the basics: property address, status, type, and side
- Add any known key dates, financials, agents, and parties
- Click Create Transaction
You can always add more details later from the transaction overview.
Add your contacts
Every deal has people involved. Use the transaction Contacts tab or contacts section to add the key players:
- Buyers and Sellers — The principals in the deal
- Agents — The listing agent, buying agent, or both
- Title Company — Who's handling closing
- Lender — If there's financing involved
- Other vendors — Inspectors, surveyors, appraisers, etc.
You can pick from your existing contacts or create new ones on the fly.

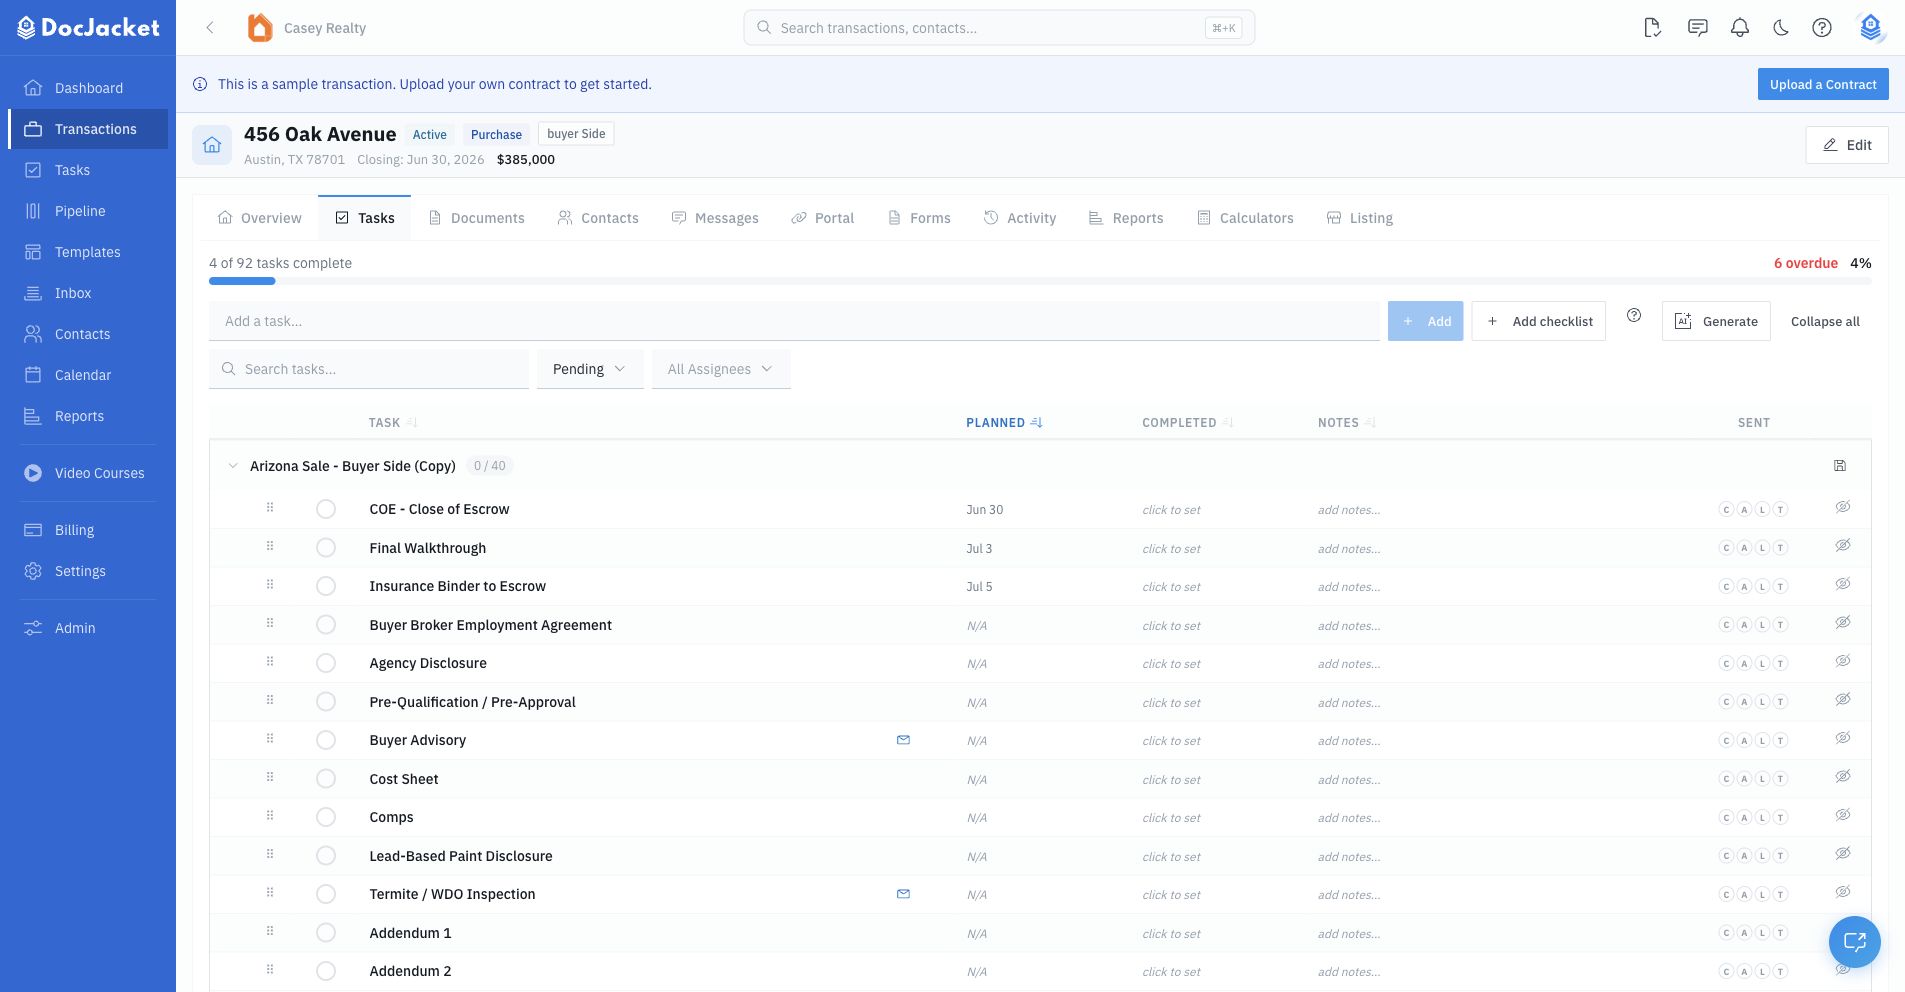
Add your workflow
Use the Tasks tab to get the work moving:
- Add one-off tasks with the quick-add bar
- Use Add checklist when you have a reusable checklist ready
- Use Generate to get suggested tasks for this transaction
- Review due dates, assignees, priorities, and task status
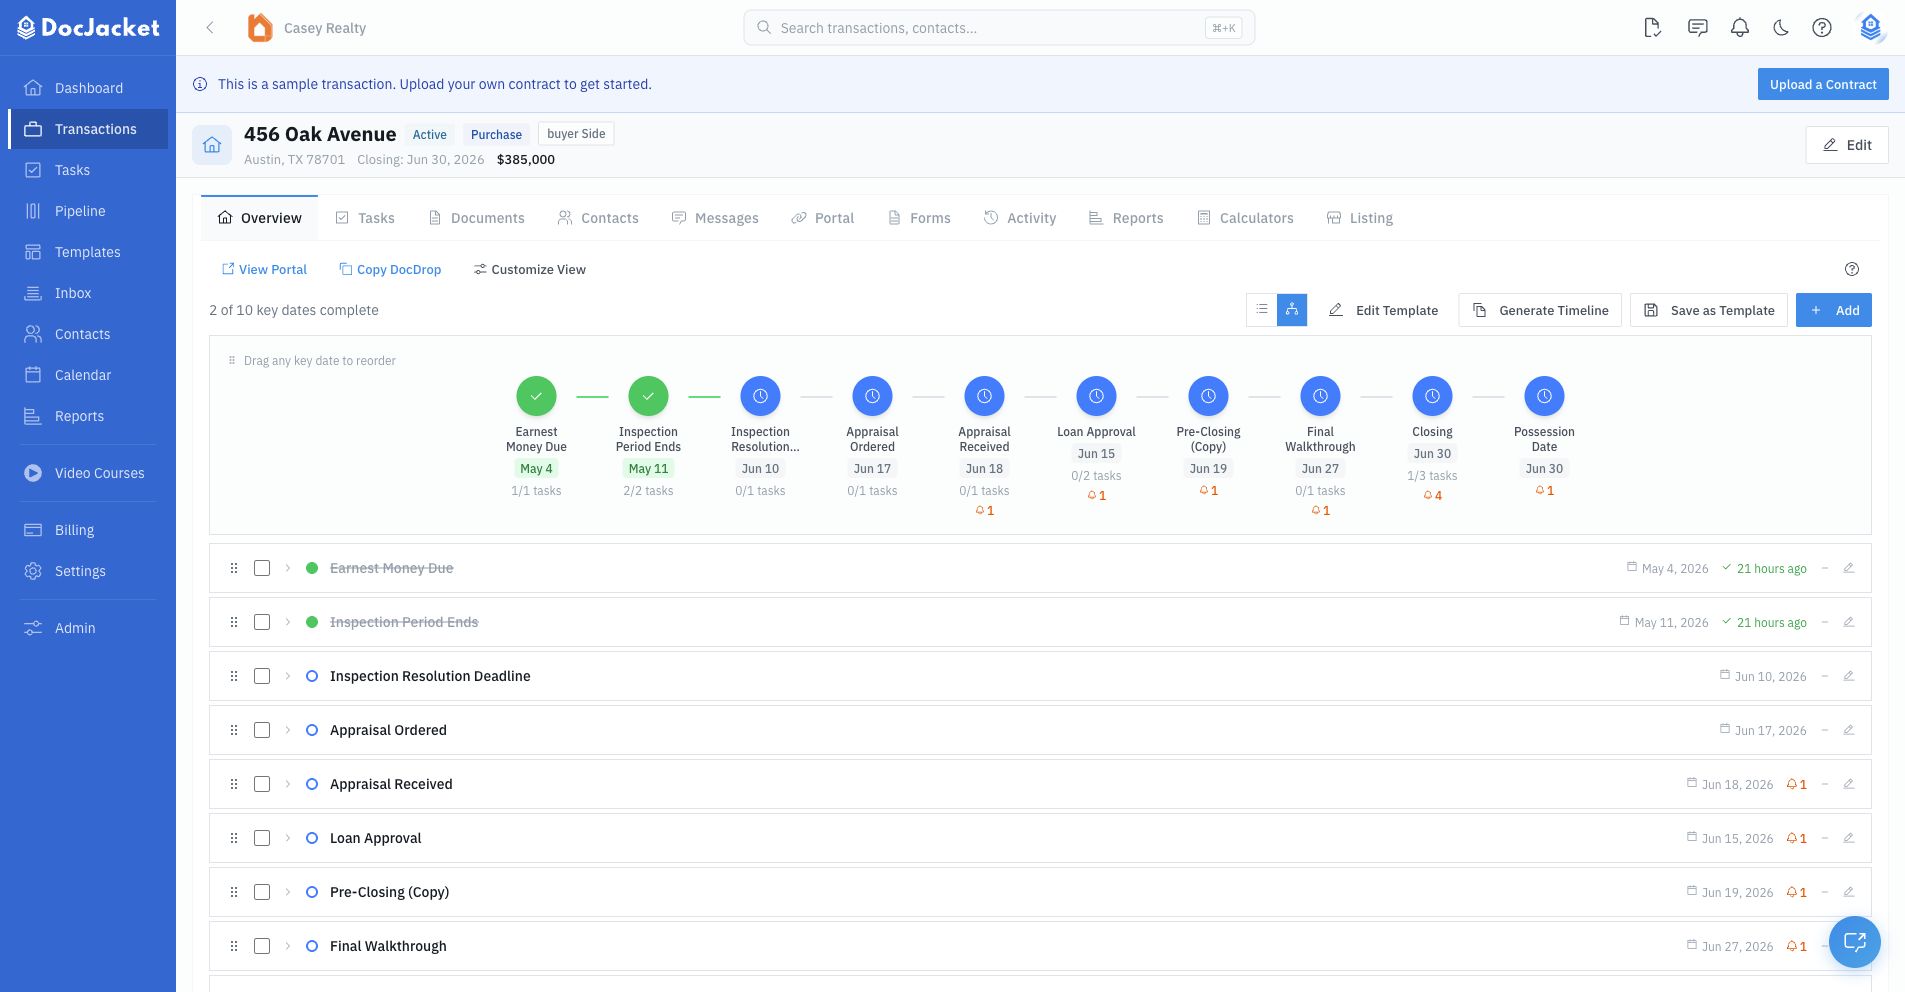
Use the closing timeline on the Overview to track closing, contract, inspection, financing, appraisal, possession, and other important dates.
Check your tasks
Head to the Tasks tab. Tasks can be grouped by checklist and filtered by status or assignee.
Priorities are:
- Urgent
- High
- Medium
- Low
You can add tasks manually, add a checklist, or let AI suggest tasks based on the transaction details.
You're all set!
Your first transaction is up and running. Here's what to explore next:
- Documents — Upload contracts, disclosures, and other files
- Client Portal — Share a branded portal with your clients and agents
- AI Features — Let AI handle the busy work